

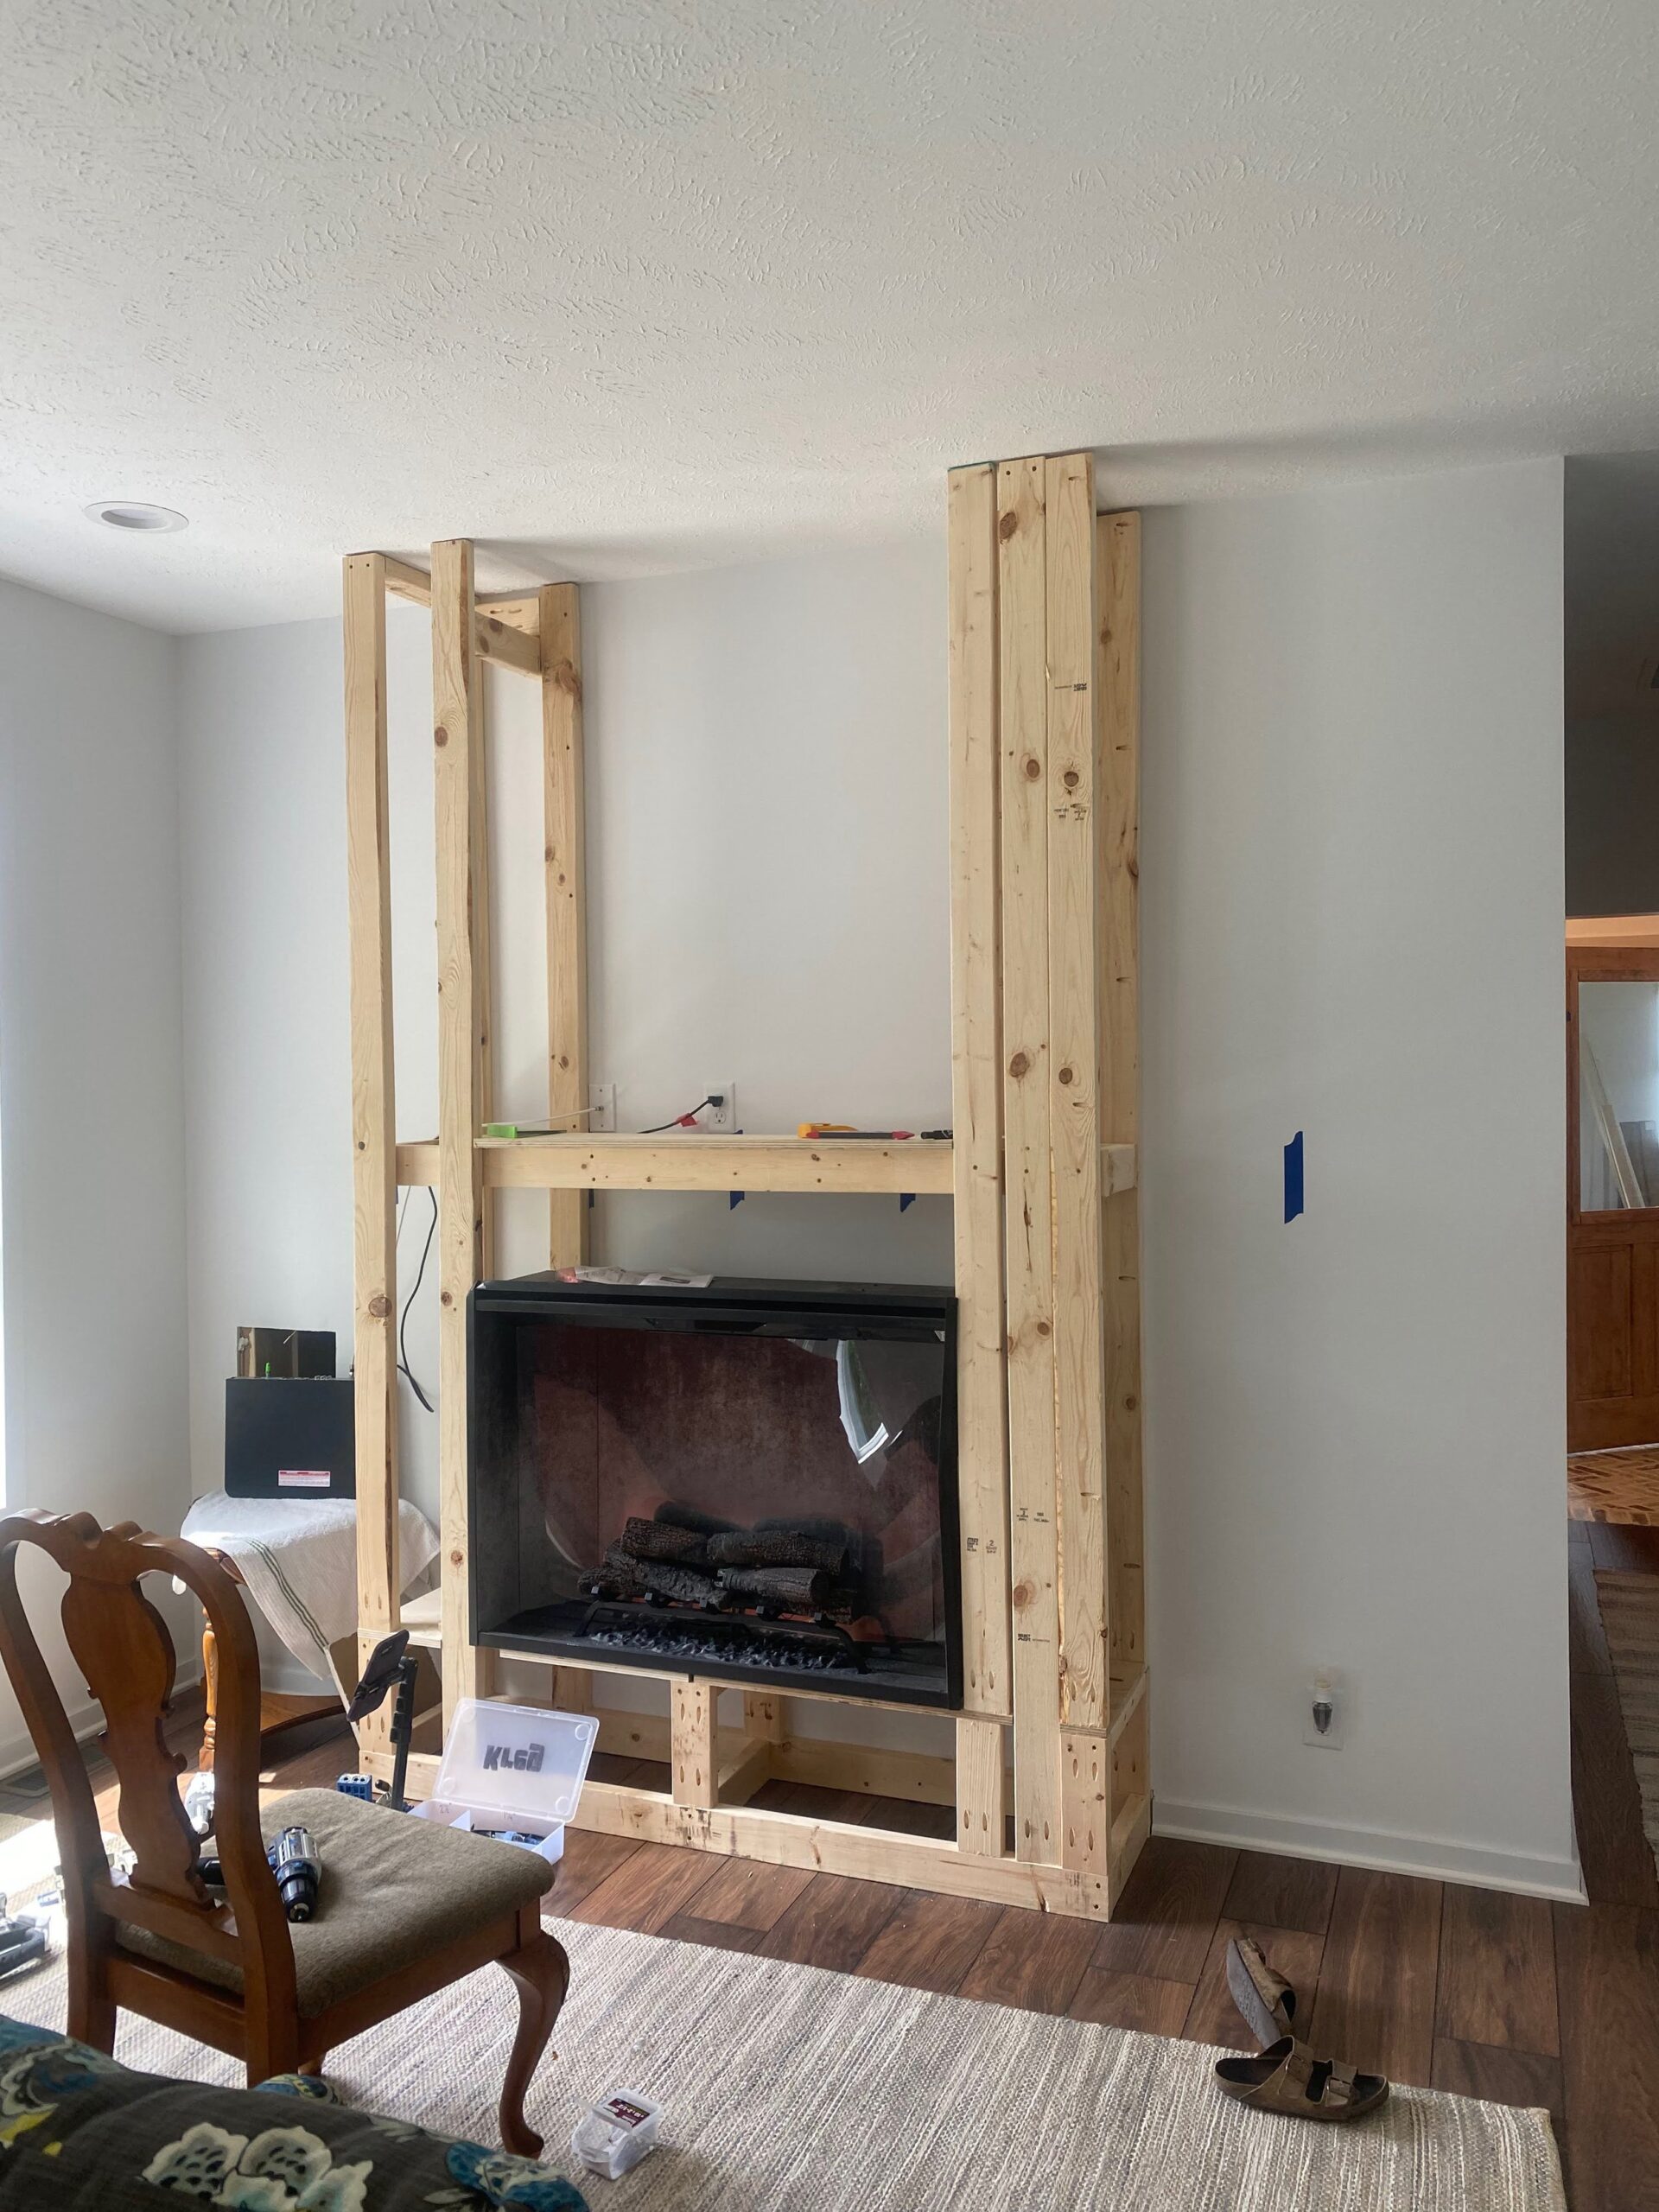
I started this project out by using a stud finder and marking them out with painters tape. This will help when I’m attaching the 2×4 “bones” to the wall studs to stabilize the build.
Next, I started framing. This is going to be different dimensions for every project, based on where your studs are located, and how big you’re building your fireplace. Here is a rough outline of where I placed my framing:
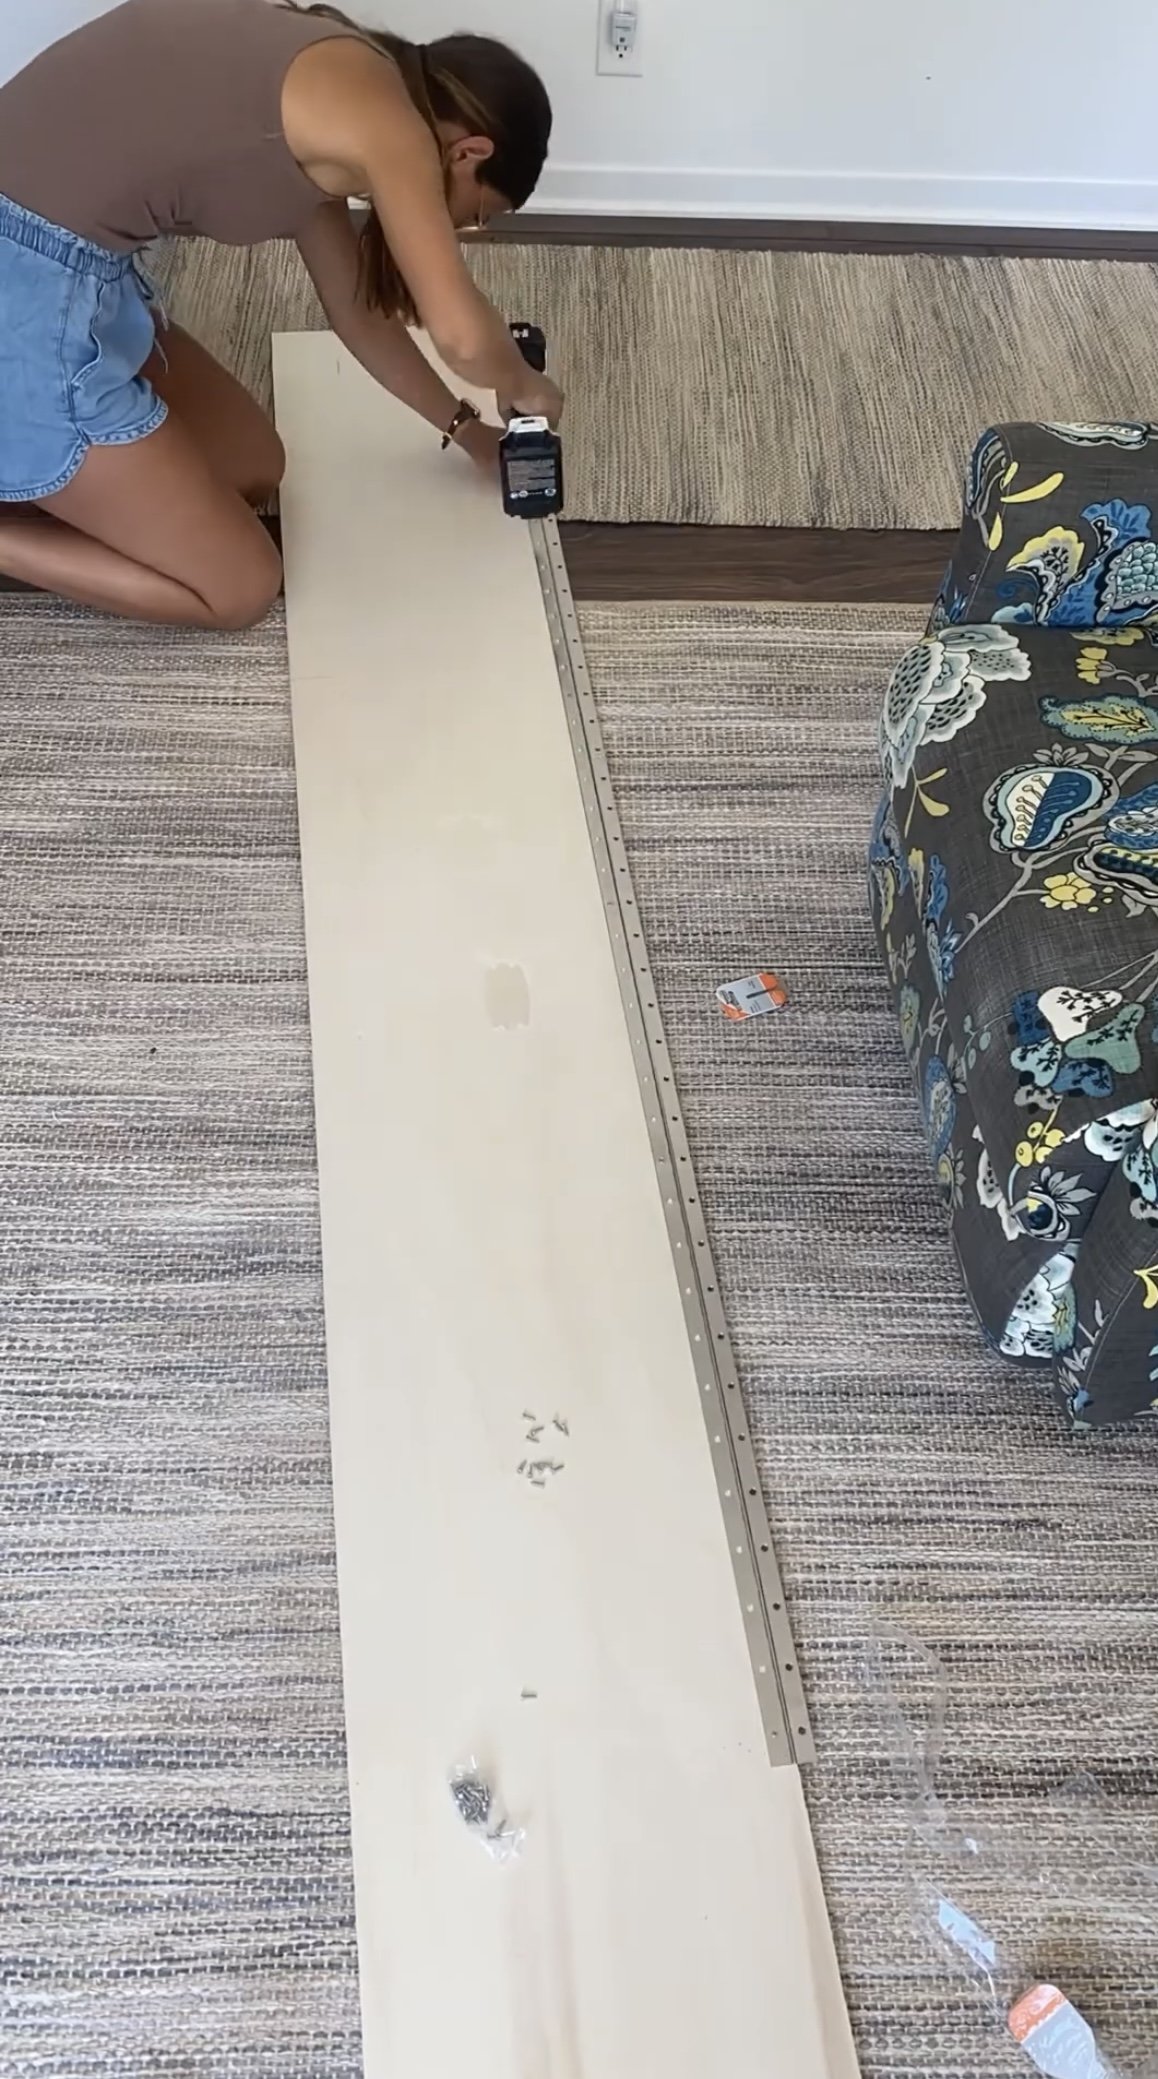
Next up, I made a hidden door out of 3/4” sanded plywood using a piano hinge. I later covered this door with shiplap and trim so it looked like it was part of the fireplace but acted like a hidden door.
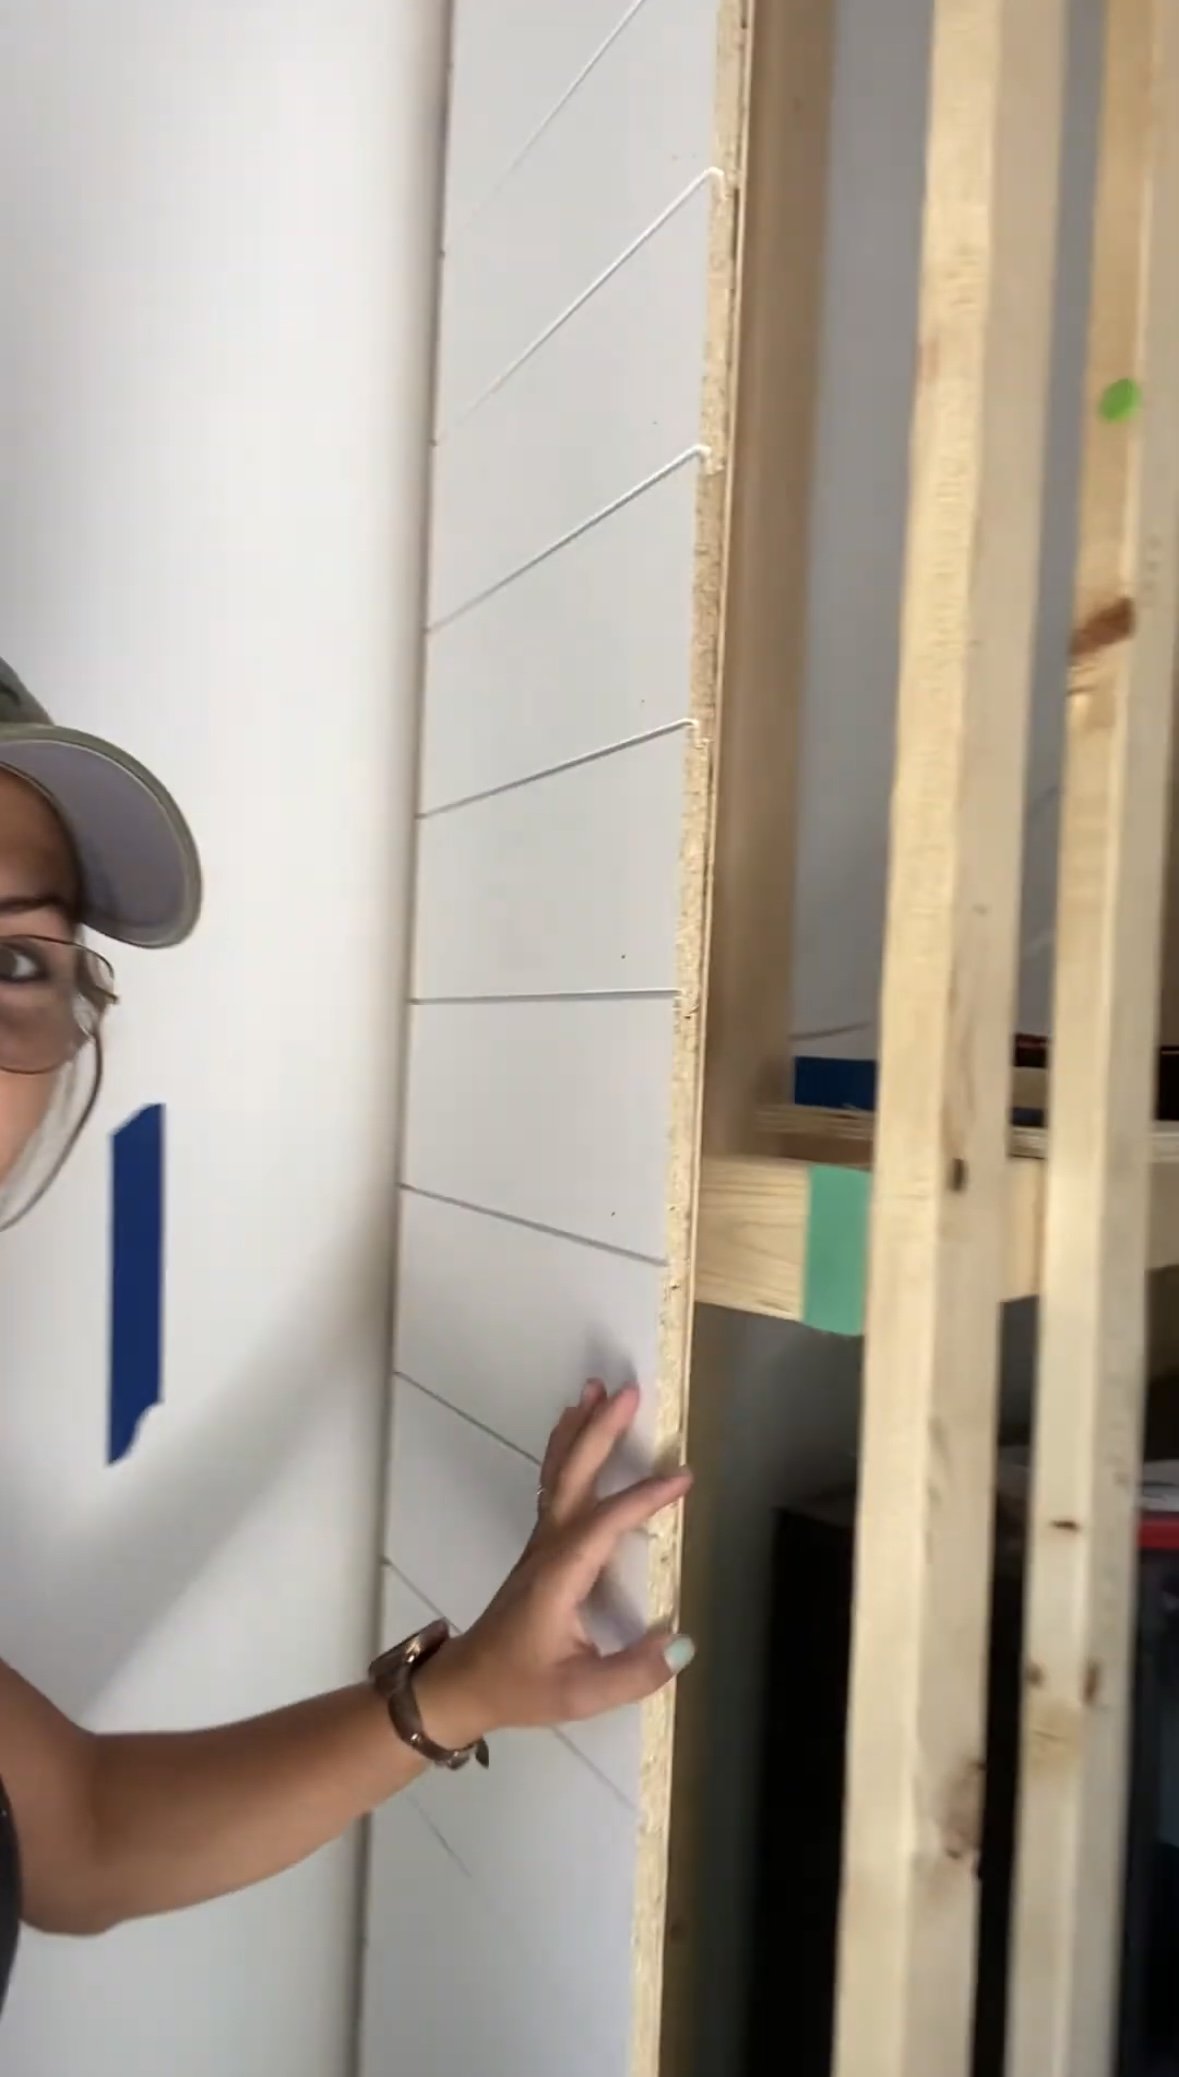
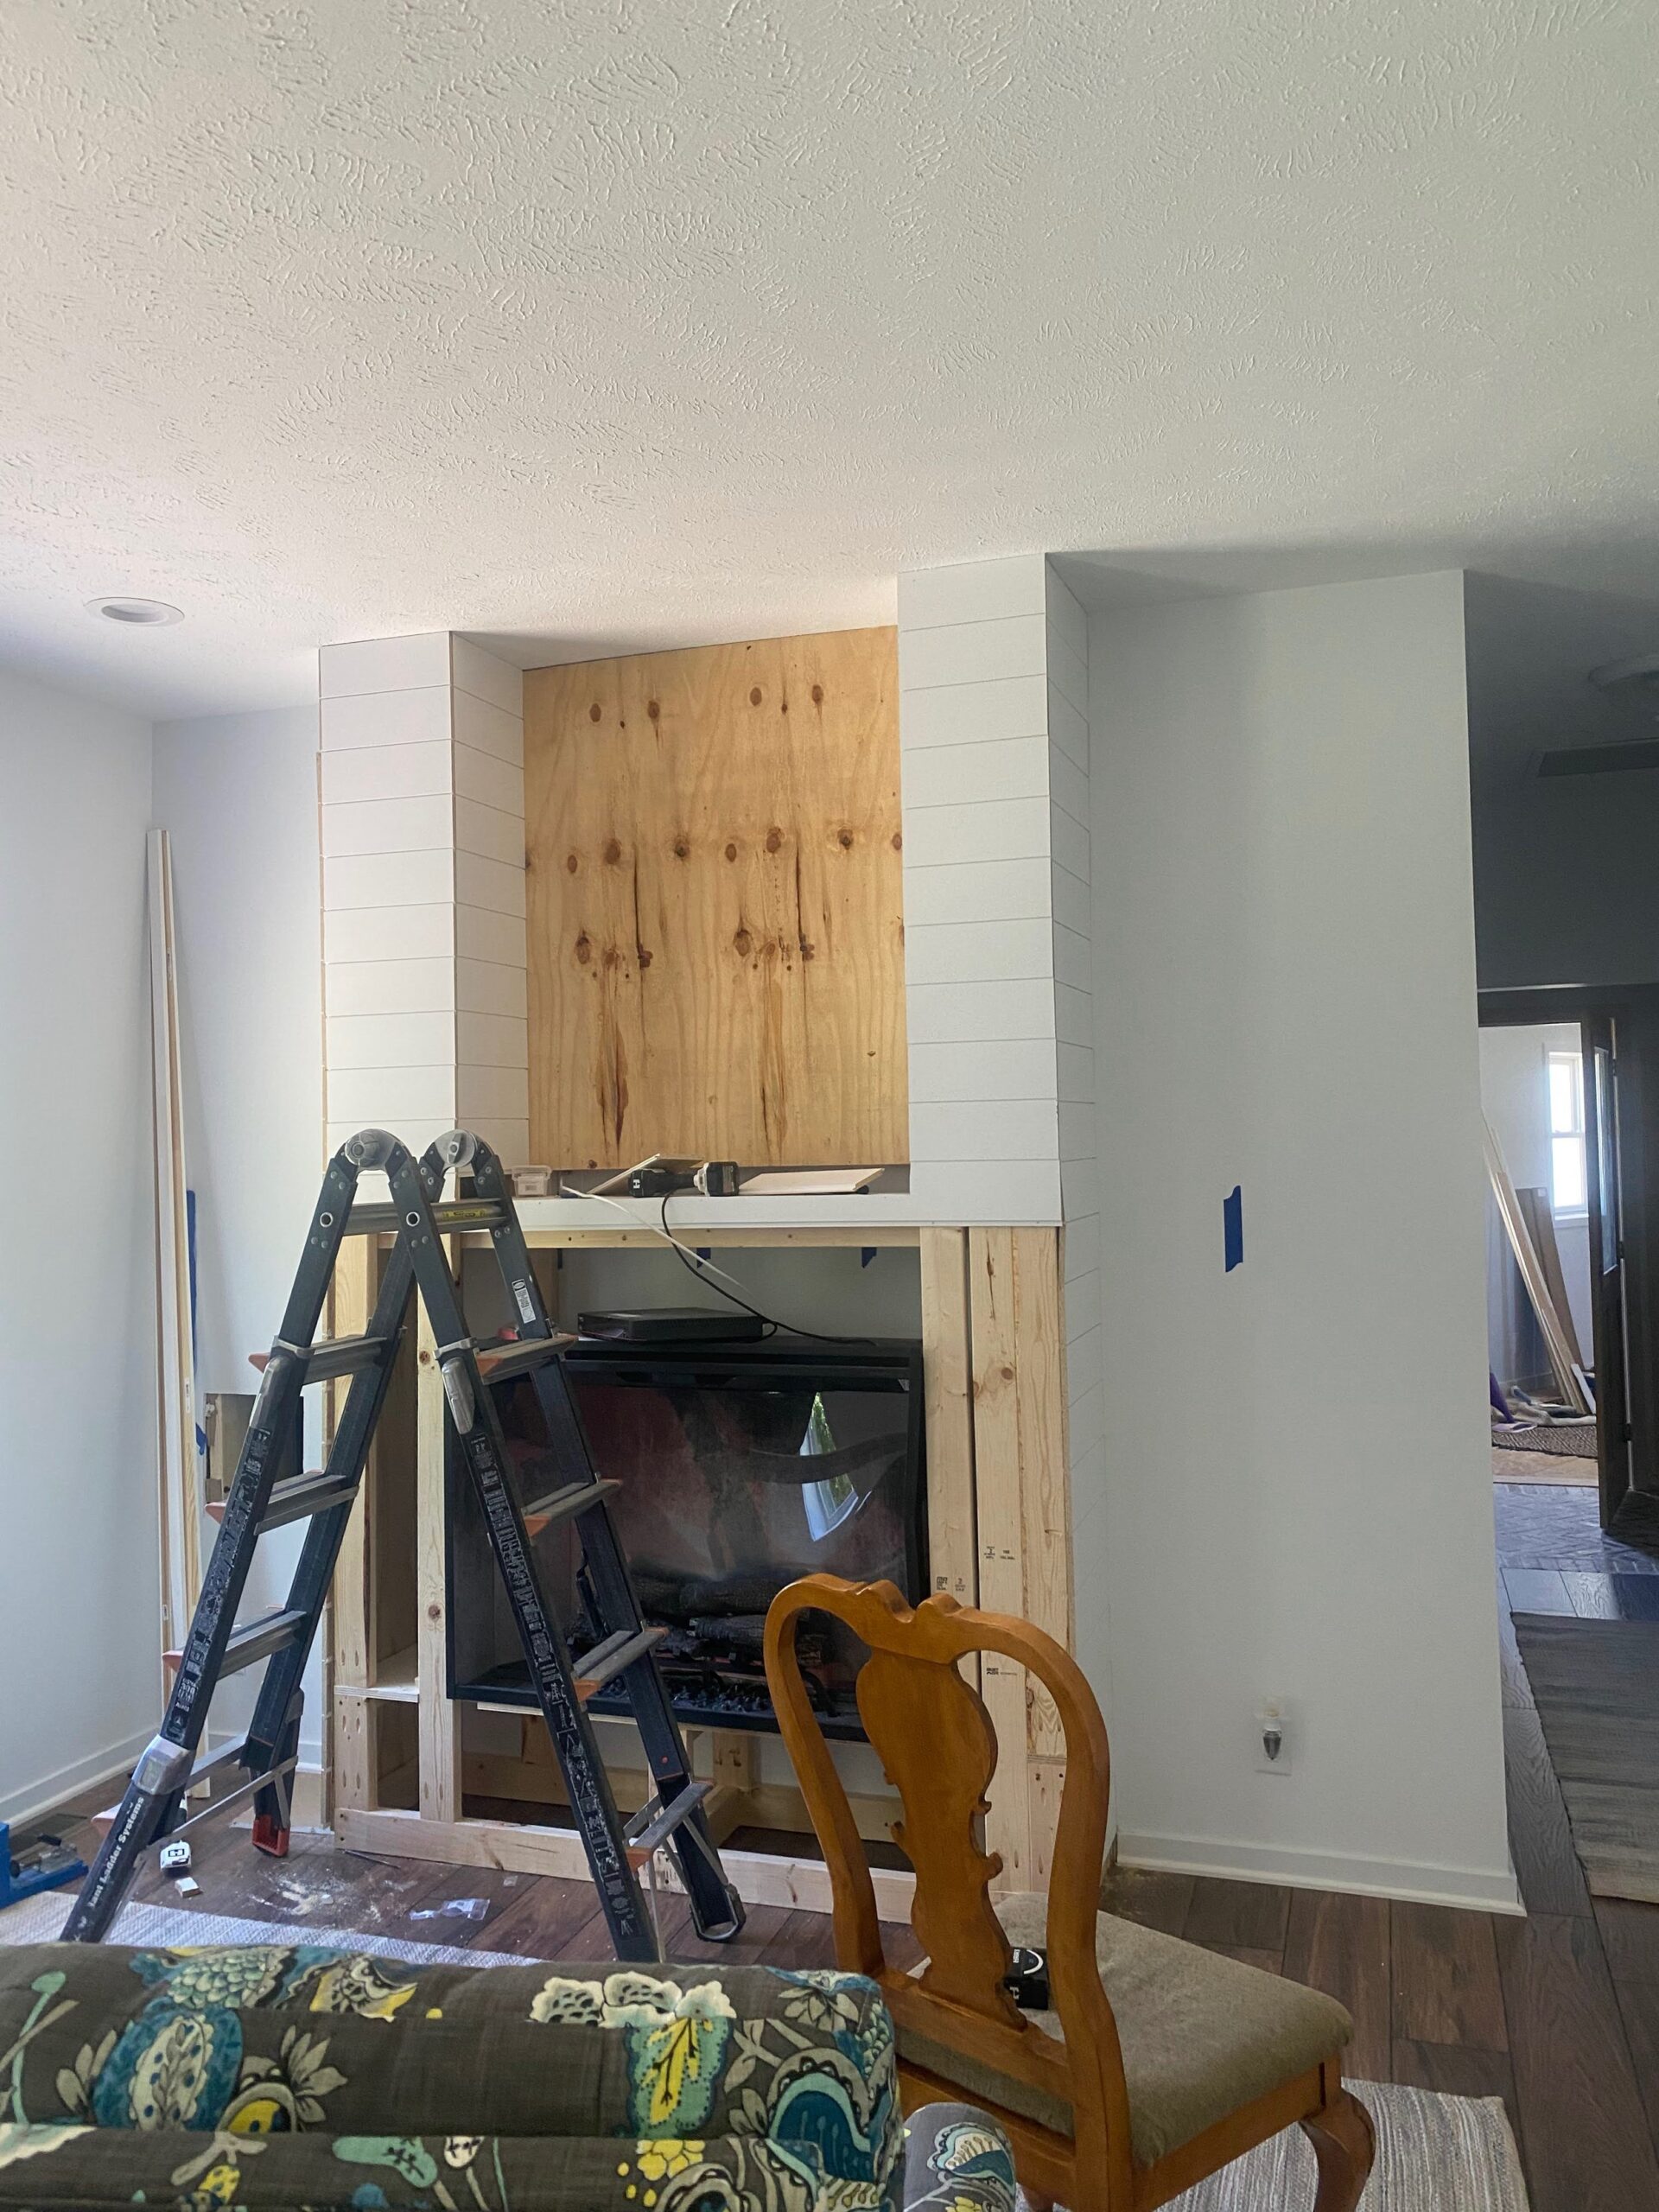
I used 6” nickel gap tongue and groove MDF shiplap to cover the entire frame.
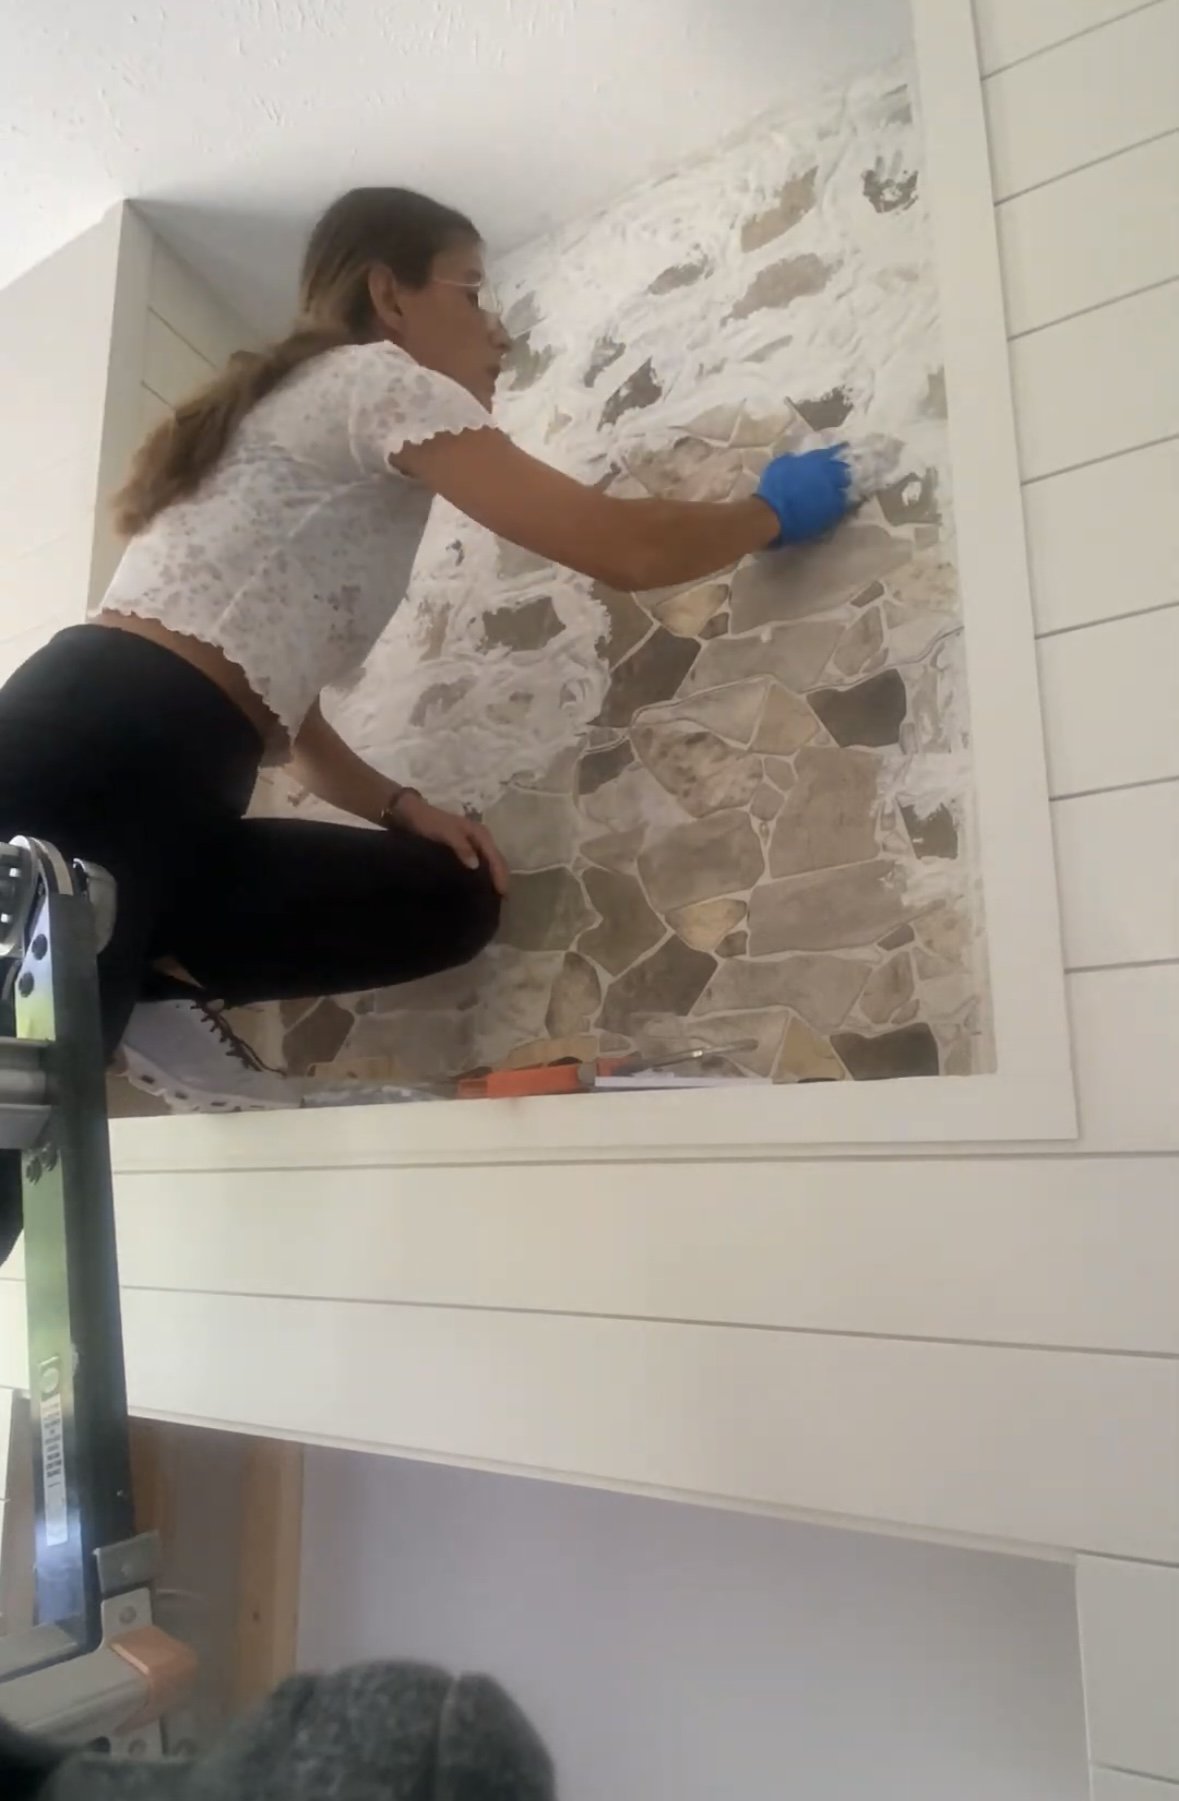
Once the shiplap was all installed, I added trim pieces at all the corners to cover gaps and board ends. Next I purchased these Faux Stone Panels and “German Schmeared” them with wall texture to make them MUCH more realistic looking.
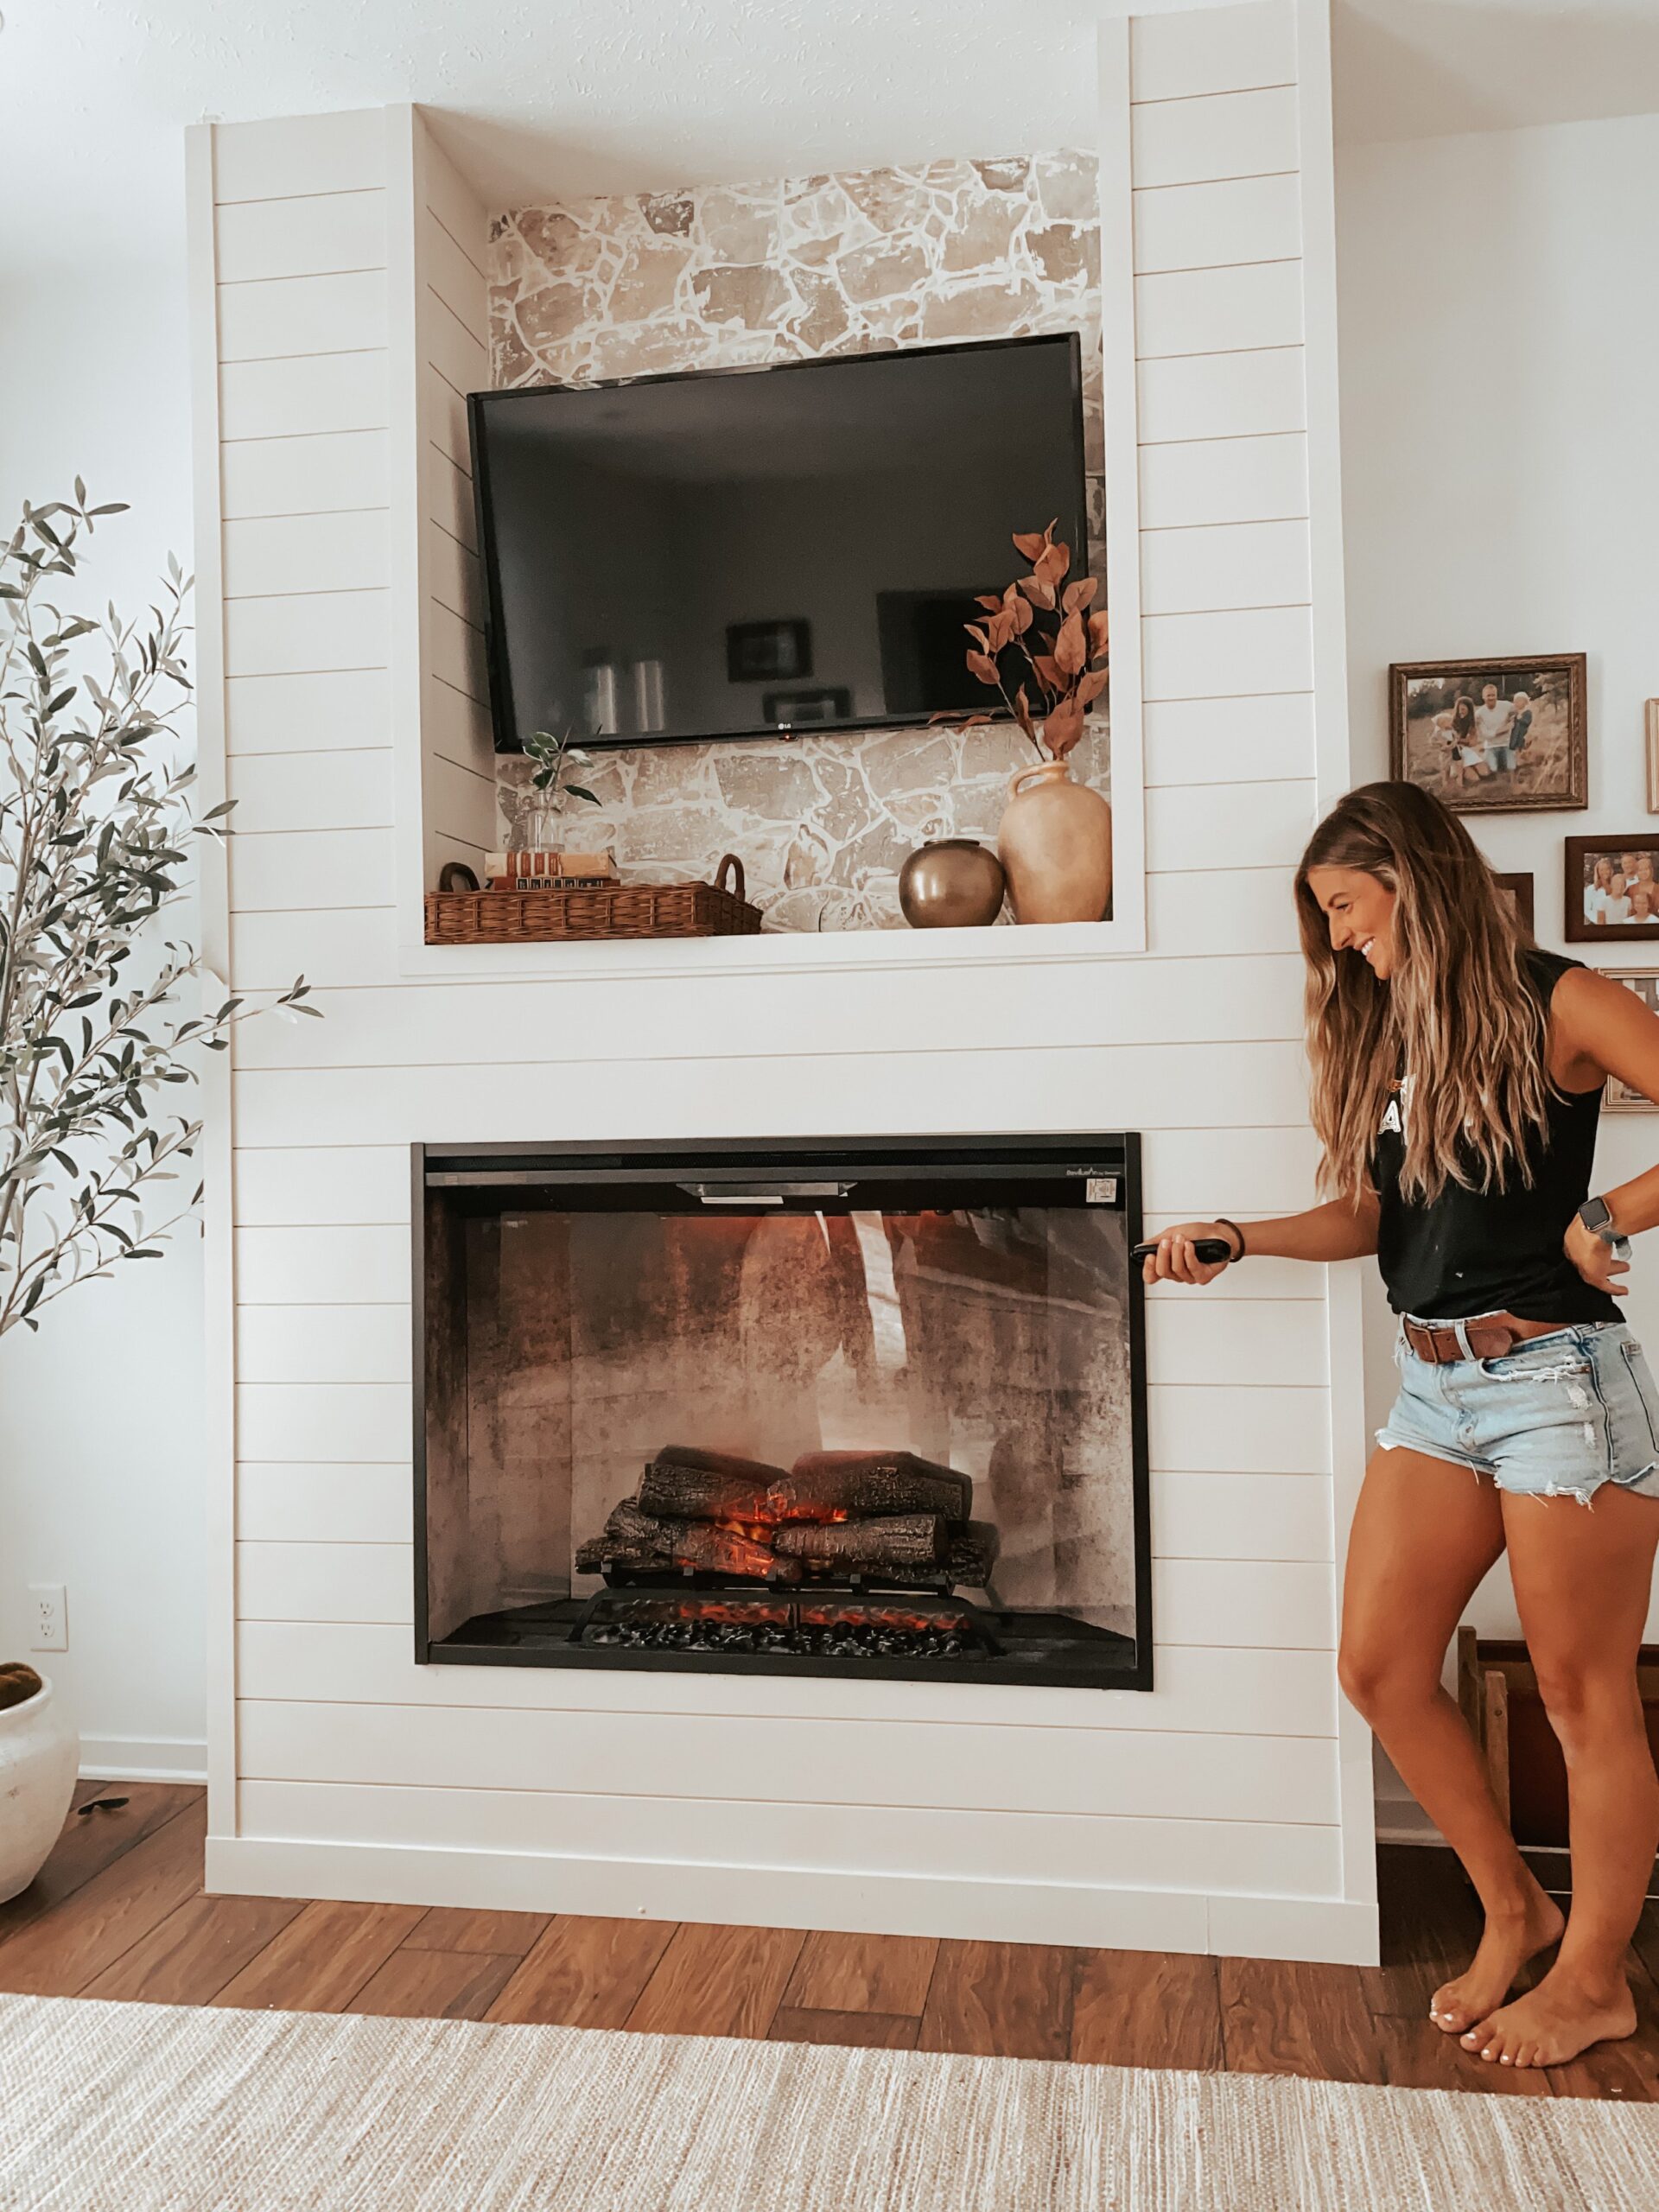
The biggest decision of all was what insert to use. It took me a couple months of research to finally land on “THE ONE”. I went with Dimplex Revillusion Firebox with Fresh Cut Log Accessory. It comes with a remote control so you can start the fireplace AFTER you’re all tucked in a cozy. The heat this fireplace can kick out is AMAZING. And if you don’t want the heat, but you’re craving the ambiance of a flickering fire, you can run the flame with zero heat. Its absolutely beautiful and beyond practical!


Comments